You have a WordPress draft with a button that says “Send.” You want it to say “Contact us,” with the same link and layout. Instead of copying content between browser tabs, you want to describe the job in Codex and let it work on the actual draft.
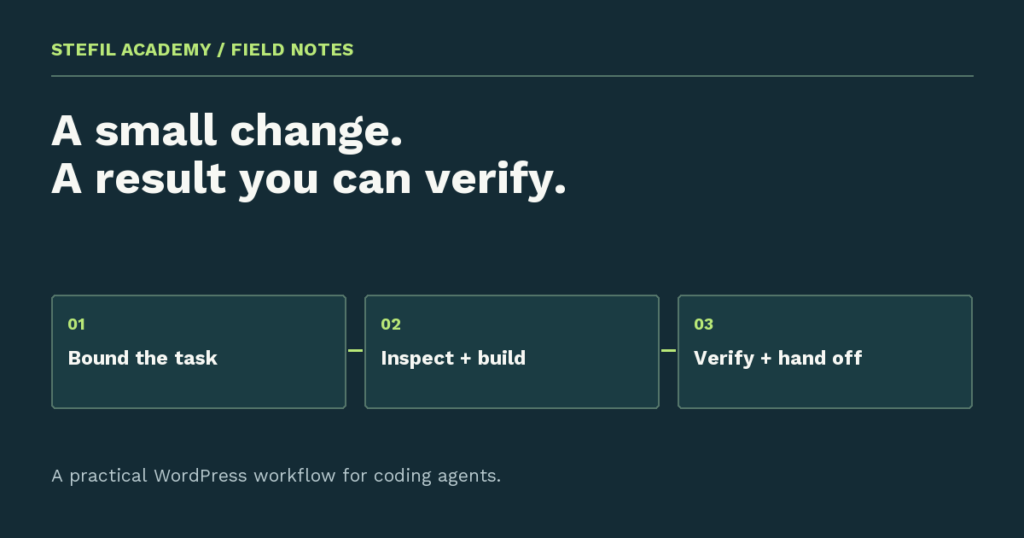
The workflow here is Codex → Novamira MCP → WordPress → browser check. You write the request in Codex. Novamira gives it a connection to the WordPress site. Codex reads the page, makes the agreed change through that connection, and you check the preview.
This is a guided teaching example, not a claim that a particular website has passed these steps. Use the real page and results returned by your connection. The useful first result is one changed draft, not an automatically rebuilt website.
What you need before starting
Codex is OpenAI’s coding assistant. In this guide, it takes your instructions and uses connected tools. MCP, short for Model Context Protocol, is the way that connection is presented to Codex. Novamira is the WordPress plugin providing the site actions used here.
Use a staging site: a separate test copy where changes will not interrupt customers. Have a recent backup and an account allowed to administer that copy. Novamira can perform powerful website actions; a sentence in your prompt is not a technical restriction on that access. Its recommended setup is for development and staging.
The published Novamira requirements list WordPress 6.9 or newer. Follow current requirements for your installed release. You also need a draft containing an ordinary WordPress Button block. Start with that simple case before trying a translated page or a page-builder template.
1. Install Novamira on the test site
Where: the staging WordPress dashboard. If Novamira is already installed and active, check its version and continue. Otherwise, download the official release ZIP using the installation instructions, then open Plugins → Add New Plugin → Upload Plugin.
Choose that ZIP, install it, and activate the plugin. Open Novamira → Configuration and follow the displayed instructions to enable AI abilities on this test site. These are the actions connected assistants can use. Installation alone does not turn them on.
What to check: the Novamira menu appears on the intended staging domain. Do not continue if the dashboard address belongs to the public customer site. Keep the two addresses in your notes so you can compare them later.
2. Connect Codex using the site’s generated instructions
Where: Novamira → Configuration. Select the Codex client that matches your application and use the generated setup for your site. The plugin includes a “Codex in ChatGPT Desktop” choice. Follow the displayed instructions for that choice or your actual client; application settings can differ between versions.
For a desktop connection, copy the generated server name and address into the MCP server settings identified by the plugin. Choose the HTTP connection type if the instructions ask for it. Authenticate, complete the browser sign-in on your own WordPress site, and review the requested access.
Start a new Codex session afterward. The official Novamira connection guide and OpenAI’s MCP documentation provide the client-specific details. The setup screen generated by your site is the place to obtain its actual address.
What to check: the new session shows the Novamira connection. If login failed, finish resolving that connection before asking Codex to edit a page. A saved configuration entry is not proof that the site can be reached.
3. Ask Codex to read the site first
Where: the new Codex conversation. Give it the expected staging address and ask for inspection only. Replace the bracketed address in this prompt:
Use the Novamira connection for [staging address].
Read only. Confirm the site's Home and Site URL values.
Discover the available abilities and read their instructions.
List draft pages with their real titles and IDs.
Do not edit, publish, create, or delete anything.
Novamira’s MCP adapter exposes Discover Abilities, Get Ability Info, and Execute Ability. Codex uses these to find the available actions and their inputs. There is no need to invent a tool called “update WordPress page.”
What to check: Codex returns information obtained from the site, including the actual draft list. Compare the URLs with your notes. If the returned values are unexpected, ask why before proceeding.
4. Choose the actual draft and button
Where: Codex. Choose one draft from the returned list. Tell Codex its real ID and ask it to read the content and locate the Button block labeled “Send.” Give the section heading too if the page has several buttons.
Ask it to report the current label, link destination, and the part of the page that stores the button. If no suitable draft exists, prepare a small draft in WordPress, then have Codex read its real ID. Do not use an imaginary ID from an example.
What to check: open that draft’s preview in your browser. The label and destination should match what Codex found. If the button actually comes from Elementor, a shared template, or another language’s content, choose a simple block-editor draft for this first exercise.
5. Review the proposed edit
Where: Codex. Ask it to describe the exact change before writing. The proposal should identify one draft, one button label, and the value “Contact us.” It should preserve the link, draft status, block structure, and surrounding text.
Novamira’s PHP execution can work with WordPress functions. That makes many site tasks possible, but the assistant must still choose an appropriate update and preserve the editor’s structure. You are not asking for a database-wide replacement of the word “Send.”
What to check: the proposal matches your request without adding a redesign, a plugin update, or a public-page change. Ask Codex to retain the old content privately so this small edit can be reversed if needed.
6. Have Codex change the draft through Novamira
Where: the same Codex conversation. Once the proposal is correct, give the instruction to perform that edit on the identified staging draft. Keep the request short:
Make the proposed label-only change through Novamira.
Keep the same link, draft status, and surrounding blocks.
Then read the saved page again and report what changed.
Do not publish the page.
What to check: Codex reports the result of the write and a fresh read of the saved draft. If it only says what it plans to do, the task has not yet been completed. If an action fails, ask for the actual error and stop repeating the edit until you know the saved state.
If Novamira reports a pending block change or batch, it has prepared work rather than saved the final page.
Open the returned Block Editor Queue link while signed into that test site and keep the tab open. The native editor bridge processes the queued blocks in the background. Have Codex confirm completion and read the page again. Continue only when the saved content shows the new label.
7. Open the preview and check the result
Where: your browser. Refresh the draft preview. Find the same button, read “Contact us,” and click it. Confirm it still opens the original destination. Try a narrow and a wide browser window so you can see whether the longer label fits.
Reopen the draft in the WordPress editor. Check that the button is still editable and no invalid-block message appears. These checks finish the task; a successful tool response alone does not show you the layout.
If Codex has an authorized browser tool, ask it to perform these checks too. Otherwise, do them yourself and tell Codex what you observed. Novamira’s site connection does not automatically mean the assistant can see or control your browser.
8. Save a short result and reuse the process
Where: Codex and your task notes. Record the staging address, draft ID, old and new label, unchanged destination, and checks completed. If a check was not performed, record that plainly. Keep the public page untouched until you separately decide to deploy.
For recurring preferences, Novamira’s Context can hold site-wide instructions, while Skills can hold reusable procedures. Neither replaces real permissions or your review of a proposed change. Do not store passwords or customer details in them.
Optional setup for Codex CLI users
If you use Codex in a terminal instead of the desktop route above, the documented OAuth configuration has this shape. Use the server name and domain generated by your site, not the placeholder shown here:
[mcp_servers.novamira-your-site]
url = "https://your-site.com/wp-json/mcp/novamira-oauth"
Add the generated entry to the Codex configuration file identified by your setup. In the computer terminal where Codex CLI is installed, use the matching server name to sign in:
codex mcp login novamira-your-siteFinish the WordPress browser sign-in and start a new session. This connects Codex; it is not a WP-CLI command and does not make the page edit. Continue with the same read-first task steps above.
That is the repeatable pattern: describe the job, let Codex inspect WordPress through Novamira, review one change, and check the browser result. Compare the optional terminal route in WordPress MCP vs WP-CLI. If something fails, use the troubleshooting workflow. For longer guided exercises, review the WordPress playbook overview and free sample.